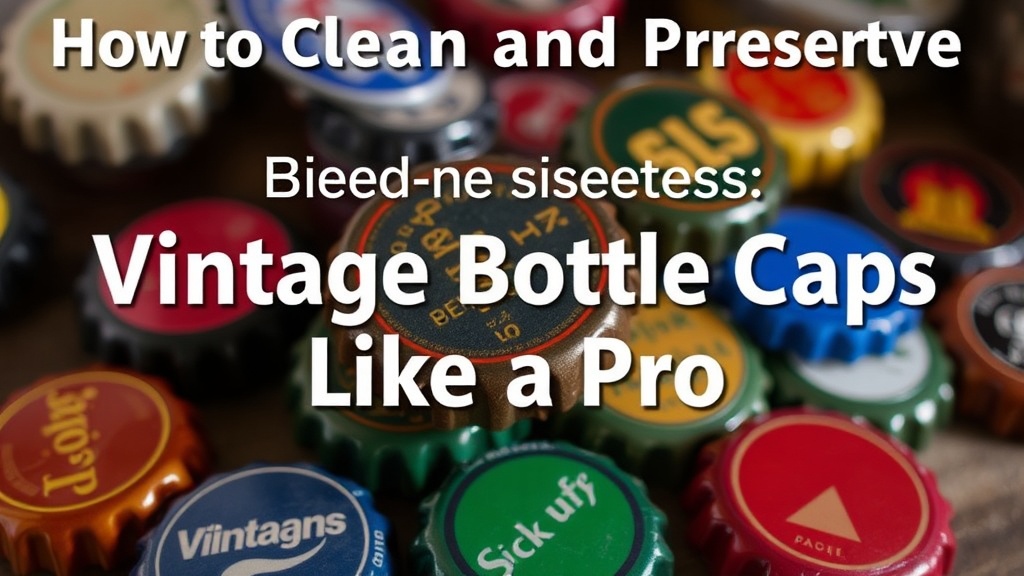
How to Clean and Preserve Vintage Bottle Caps Like a Pro

This post covers the safest methods for cleaning, stabilizing, and storing vintage bottle caps. Whether you're sorting a recent estate sale haul or protecting a decades-old collection, proper handling prevents rust, paint loss, and cork deterioration — the three biggest threats to cap value. You don't need a conservation lab. A few inexpensive supplies, some patience, and the right technique will keep your caps looking sharp without turning them into shiny disasters.
Should you clean vintage bottle caps before selling them?
It depends on the cap's condition, age, and rarity — but in most cases, gentle surface cleaning is safe while aggressive restoration kills value. Buyers want originality. A cap with honest patina and light soil often outsells a stripped, over-polished example that looks like it came from a restaurant decoration bucket. Here's the thing: dirt and rust are not the same. Surface grime from a basement box is usually removable. Deep oxidation, on the other hand, is part of the cap's history.
Before you touch anything, photograph the cap under natural light. Document the front, back, and liner. If you plan to sell through eBay, Facebook groups, or at a show like the Toronto Festival of Beer collector's market, buyers will ask about cleaning history. Dishonest answers ruin reputations fast. That said, there's a difference between "lightly rinsed" and "restored." Most collectors accept the former and reject the latter. If a cap came from a barn floor and smells like motor oil, nobody expects you to ship it as-is.
The catch? Some caps should never be wetted. Paper-backed caps from the 1930s and 1940s — especially those with tax stamps or foil liners — can delaminate in minutes. For these, dry cleaning with a soft cosmetic brush (the kind sold by American Institute for Conservation suppliers) is the only safe option. When in doubt, leave it alone. A dirty cap is worth more than a ruined one. If you're staring at a crown from a pre-Prohibition brewery and the paint is flaking, your job is to stabilize the environment, not the cap itself.
What's the safest way to remove rust from old bottle caps?
Start with the least invasive method — a soft brush and distilled water — and only escalate to mild solvents if surface rust refuses to lift. Tap water contains minerals and chlorine that leave new stains behind, so pick up a jug of distilled water from any pharmacy or grocery store. You'll also need a few soft-bristled toothbrushes, plain Dawn Ultra dish soap, and a supply of microfiber cloths.
Set up a small workstation with good ventilation. Lay a towel down, fill a shallow dish with lukewarm distilled water, and add a single drop of soap. Dip the brush, shake off excess water, and gently work the bristles around the crown in small circles. Never scrub the top lithography with pressure — let the bristles do the work. Rinse the brush in clean water frequently so you're not grinding dirt into the metal. Work on one cap at a time. Rushing through a pile of fifty usually ends with scratched paint and poked liners.
For caps with stubborn rust rings, make a thin paste of Arm & Hammer baking soda and distilled water. Apply it with a cotton swab and let it sit for two minutes. The mild alkalinity loosens oxidation without attacking the underlying steel. Wipe it away with a damp cloth, then pat the cap completely dry with a lint-free towel. Any trapped moisture will bloom into new rust within forty-eight hours.
Worth noting: ultrasonic cleaners (the Magnasonic MGUC500 is a popular home model) can work wonders on common steel caps with no paper components. That said, the vibration can shake loose weak liners and crack older paint. Test one sacrificial cap first. If the liner starts to bubble or separate, pull the plug immediately. Never run an ultrasonic session longer than ninety seconds for bottle caps. Short bursts, frequent checks, and cold water are the rules.
How should you store bottle caps long-term?
Keep them in acid-free pocket pages or individual Mylar sleeves, stored flat in a cool, dark environment with stable humidity between 30% and 50%. Heat, light, and moisture are the enemies. Attics fry paint. Basements breed mold. A closet in a climate-controlled room is your best bet. If the room feels damp to you, it's damp to your caps.
For organization, BCW 20-Pocket Pages fit standard three-ring binders and hold twenty caps per sheet. The pockets are slightly oversized, which prevents the edges from catching. If you collect higher-grade specimens, Ultra-PRO Platinum Series pages are thicker and clearer, though they cost a bit more. Either option beats Ziploc bags, which trap moisture and off-gas plasticizers that can yellow liners over time.
Here's a quick comparison of common storage methods:
| Storage Method | Best For | Drawbacks |
|---|---|---|
| BCW 20-Pocket Pages | General collections, easy viewing | Caps can slide if binder is tilted |
| Individual Mylar Sleeves | High-value or fragile caps | Takes up more space per cap |
| Glass Jars | Temporary sorting, bulk storage | Scratches paint; traps humidity |
| Original Cardboard Boxes | Factory sets, provenance | Acidic paper degrades over decades |
If you live in a humid climate — or an old Winnipeg character home with unpredictable winters — toss a few silica gel packets into the storage box. Rechargeable desiccant canisters (the kind sold for gun safes) are reusable and more reliable than the tiny packets that come with electronics. Check them every six months. When they turn pink, bake them according to the manufacturer's instructions and put them back on guard duty.
Should you seal bottle caps with lacquer or wax?
Most experienced collectors avoid spray lacquers and instead rely on controlled storage environments, though some apply a micro-thin layer of Renaissance Wax to stabilized steel caps. The idea of sealing a cap sounds appealing. It locks in the color, stops rust, and gives a slight sheen. The reality is messier. Cheap spray coatings yellow within five years. Thick layers trap existing moisture underneath, accelerating corrosion from the inside out. Worse, reversibility matters in this hobby — once a cap is lacquered, you can't take it back. Buyers spot it under a loupe and walk away.
Renaissance Wax is the exception that proves the rule. Developed in the British Museum, it's a micro-crystalline wax used by museums worldwide. A tiny dab buffed onto a clean, dry cap with a cotton glove creates a breathable barrier against fingerprints and atmospheric pollutants. It won't stop a flood, but it slows down the slow creep of oxidation. If you go this route, less is more. A jar lasts years because you're using barely enough to catch a fingernail.
That said, cork-lined caps don't need wax on the liner — it can darken and stiffen the cork. Apply it only to the metal skirt if you apply it at all. For aluminum caps from the 1960s onward, plain storage is usually enough. The aluminum oxide layer is self-protecting, and wax just attracts dust. If you're unsure whether a cap is steel or aluminum, a magnet settles the question in half a second.
What gear do you actually need?
You don't need much. A basic kit fits in a shoebox and costs less than a diner breakfast. The essentials include distilled water, Dawn Ultra dish soap, a soft toothbrush, cotton swabs, microfiber cloths, acid-free pocket pages, and a desiccant source. Add a jeweler's loupe (10x) for inspecting hairline cracks and liner separation before you buy or sell. A small digital hygrometer — the kind sold for humidors — helps you track the room's humidity without guessing.
For advanced work, pick up a set of Zeiss lens cleaning wipes — they're lint-free and pre-moistened with a safe isopropyl alcohol solution that evaporates quickly. Great for removing sticker residue from modern plastic-lined caps. A 3M N95 respirator is smart if you're brushing rust from dozens of caps at once; iron oxide dust isn't something you want in your lungs.
Here's the thing about tools: they multiply your mistakes as easily as your successes. A rotary tool with a wire brush will strip fifty years of history in ten seconds. An ultrasonic cleaner left running too long will rattle a rare 1930s cap into four pieces. Buy quality basics, master them, and resist the urge to "power through" a problem. The Smithsonian Museum Conservation Institute preaches the same doctrine for all small metal artifacts — minimum intervention, maximum reversibility. That advice applies whether you're preserving a nineteenth-century coin or a 1970s Schlitz crown.
Collections survive because of habits, not heroics. Check your caps seasonally. Rotate desiccants. Keep binders out of direct sun. When you handle them, grip the edges, not the face — skin oils contain acids that etch paint over time. Small disciplines, repeated for years, are what separate a box of rusty discs from a collection worth passing down. Start with one cap, one method, one storage page. The rest follows.
Steps
- 1
Gather Gentle Cleaning Supplies
- 2
Clean Caps Without Damaging Paint
- 3
Sort and Store in Moisture-Free Containers